Shop For All Roll For Combat Products at Battlezoo.com!

Dead Suns 099: Bravely Run Away!

The RFC Crew continue their fight against the incorporeal mini-boss and slowly run away … er, perform a tactical retreat.

Also this week, GM Stephen discusses death and dying in Starfinder vs. Pathfinder 2nd Edition.

And don’t forget to become a supporter of the podcast our Patreon page: https://www.patreon.com/rollforcombat where you can help us while unlocking fun exclusive rewards for yourself!

If you enjoyed this episode, don’t forget to subscribe to the podcast. We would also love it if you would leave us a review on iTunes!

Talking Plaguestone 05: The Bearly Boaring Episode

Jason recaps the events from Roll For Combat: The Fall of Plaguestone, Episode 05: Boars and Bears and Bees! Oh My!

This week’s visit to Plaguestone is brought to you by the letter “B”, apparently.

We return to the investigation of Bort’s murder, with a few decent leads to follow up on. We’ve ruled out the cook, Amora, but there are two people left who handled Bort’s food that night – Phinick the goblin who helped prep the food, and the waitress Trin. It’s also going to be important to check Bort’s body because of the strange floral scent we found in Bort’s bowl.

We start with our first real examination of Bort. We confirm that Bort’s whole body now has the same floral scent that was in the bowl, but initially we strike out on finding anything else. It does dawn on me that we’re not being particularly cautious about this – there’s always a possibility that whatever killed Bort could be communicable, and we’re just sniffing around his orifices like it’s no big deal. It also dawns on me that we haven’t ruled out Bort reanimating as some sort of undead. But for the moment, nothing like that happens, so on to our next clue.

In the barn, things are a little more fruitful, as we find an empty vial with the same floral scent. Since the barn is Finick’s preferred off-hours hangout, that tends to elevate him to the top of the suspect list. Never did trust goblins.

While at the barn we’re approached by the stablehand with a good ol’ fashioned Side Quest! Our horses have fleas so we have to go gather herbs to cure them. And ohbytheway, the bushes we need are guarded by a big nasty (but sleeping) bear. (There’s something almost MMO-ish about this.) We basically decide to handle this as a stealth mission, with Cade sneaking up on the bear, but part of me wonders after the fact if we should’ve eliminated the threat to the townspeople. I mean the next time someone needs rosemary, there’s still a bear out there. But no, we decide to go with the stealth mission. After a few tense rolls, and Cade burning a Hero Point, we successfully get our rosemary. Huzzah!

This is also our first real exposure to Hero Points. Basically, Hero Points are one of those things that used to be a house rule but have been codified in Second Edition. They basically serve as rewards – either for hitting certain progress points in the story, or they can be rewards for good roleplay – but you can only hold up to three at any one time, so there’s no stockpiling 20 or 30 of them. Their two main uses are stabilizing from dying (which we hopefully won’t have to play around with any time soon), or to take take a re-roll. Here Cade takes a re-roll on a stealth roll, and whether it’s actually true or Steve was just humoring us, it saves us from a face full of an angry bear.

With the sidequest out of the way, we now have three main leads left. Trin, Phinick, or visiting Bort’s house and seeing if there are any clues there. To me, Phinick seems like the next most obvious choice, but we don’t actually know where he is at the moment. Bort’s house might be useful, but it’s presumably not going anywhere. So let’s go visit the waitress, Trin. Among other things, she’s reported to have a bruise on her face, and she fled the inn in the immediate aftermath of the bar brawl, so even though the goblin is Suspect One, she’s not totally in the clear.

But before we can talk with her, we have to protect her from being killed by a wild boar. Seriously, between the wolves on the way into town, and now stirges, bees, a bear and this boar, it’s like nature is out to put a foot in this town’s collective ass. This turns out to be a fairly quick fight – the boar hits hard but a four-to-one numbers advantage wins out. To me, Celes was the MVP of this fight, both hitting the boar with her flame attack AND healing Brixley after he took a big hit. Brixley was a mixed bag – he got the eventual kill-stroke, and being able to matador away from the piggie’s charge attack was kinda fun, but he did also take a 15-point thump and was going to have to Lay On Hands until Celes intervened.

Speaking of which, as an aside, I’m very glad that entry-level heals are 1d8+8, given all the 1s we rolled for healing in our Starfinder campaign.

Boar dies. Now it’s time to interrogate Trin, and it becomes quickly obvious she had nothing to do with Bort’s death. She got hit with a flying mug during the fight (hence the bruise) so she got the hell out of Dodge. That might actually make her the most normal person in this town. Furthermore, she hadn’t been back to work yet, so she didn’t even know Bort was dead. Personally I find that a little surprising – you’d think news like that would get around town faster than that – but she does seem genuine in her confusion. So… one more suspect eliminated unless she’s a much better liar than we’re giving her credit for.

By process of elimination (for the moment – there’s still Bort’s house to check), I guess that leaves Phinick the goblin as the center of suspicion. But since we don’t know where he is anyway, we decide to take our slaughtered piggie back to the inn for a celebratory pig roast! A feast fit for kings, and more importantly, not another turnip dish! And as a side benefit, it might get people to start trusting the food at the inn again – not explicitly in our job description, but still a nice thing to do.

We’ll get back on the trail of the killer after we fill our bellies, and that’s a good place to leave it for this week. Hope you’re enjoying the show – feel free to drop by our Discord channel or other social media and let us know what you think. In the meantime, thanks for listening, hope those of you in the US have a nice holiday weekend, and we’ll see you back here next week.

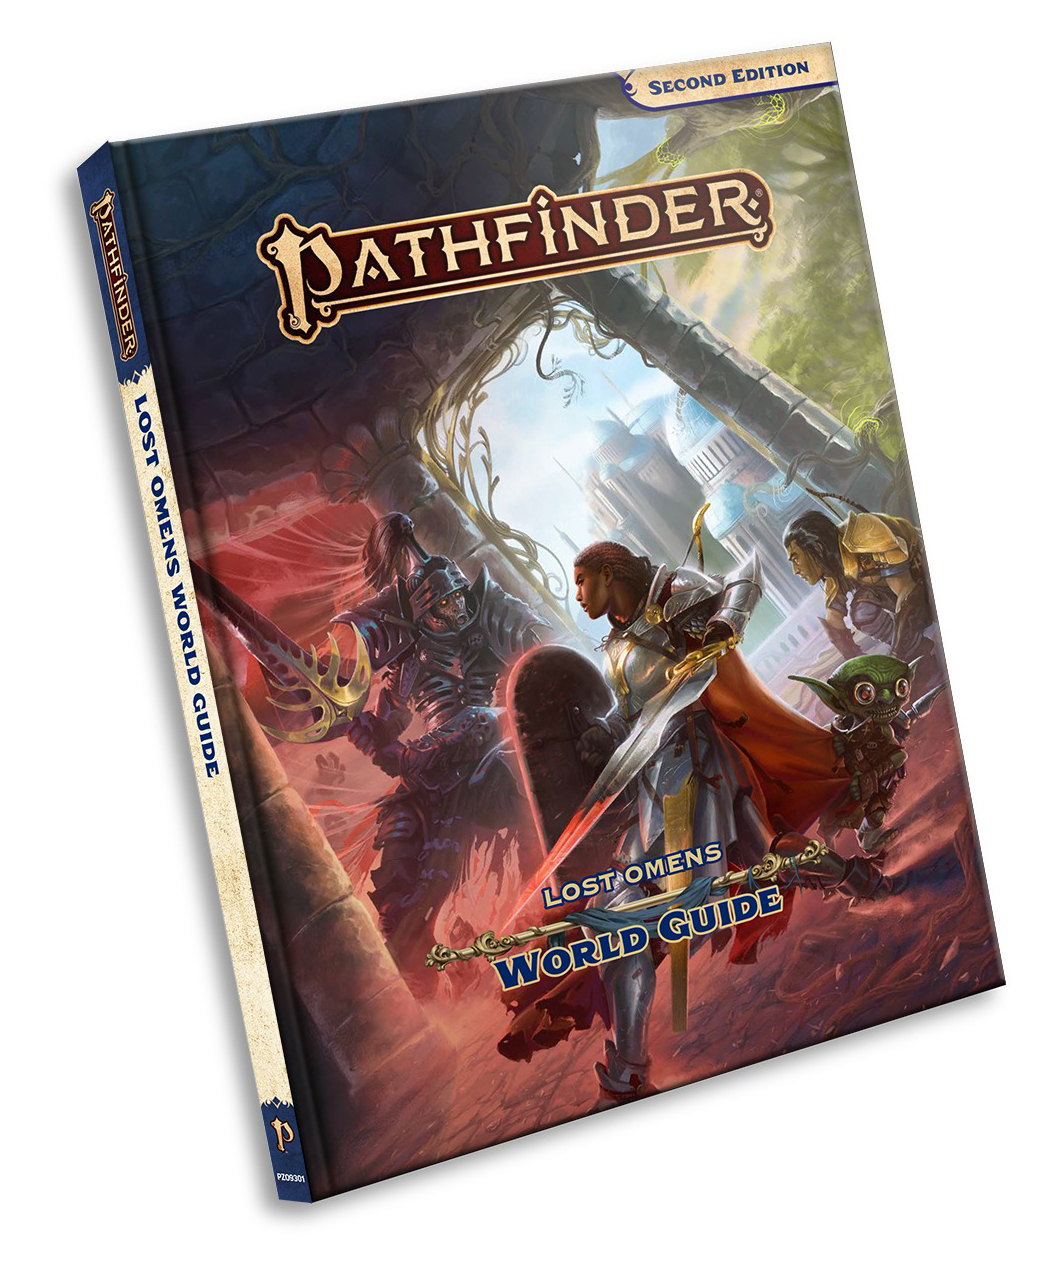
Pathfinder Lost Omens World Guide Review: The Brand New Same Old, Same Old

Make sure to read Jason’s review of the Pathfinder Second Edition Core Rulebook, as well as his review of the Pathfinder Bestiary.

If you enjoyed this review make sure to check out our brand new Pathfinder Adventure: The Fall of Plaguestone Actual Play Podcast!

The Lost Omens World Guide is a bit of a late arrival to the Pathfinder Second Edition party. It was originally supposed to launch at GenCon alongside the same time as the Core Rulebook and the Bestiary, but it was unfortunately delayed at the printer. But much like Wonder Woman showing up for the last 10 minutes of Batman v. Superman, it’s finally arrived on the scene to complete the launch-day trinity. (Unlike Batman v. Superman, you’ll be pleased to hear that the word “Martha” is nowhere within its pages.)

So, what IS the Lost Omens World Guide? Well, at its simplest, it’s “the setting book” for Pathfinder Second Edition. It’s a means of introducing the world of Golarion (or at least the portion of it where most of the fun stuff happens) to new players and re-introducing it to players who are making the jump from First Edition.
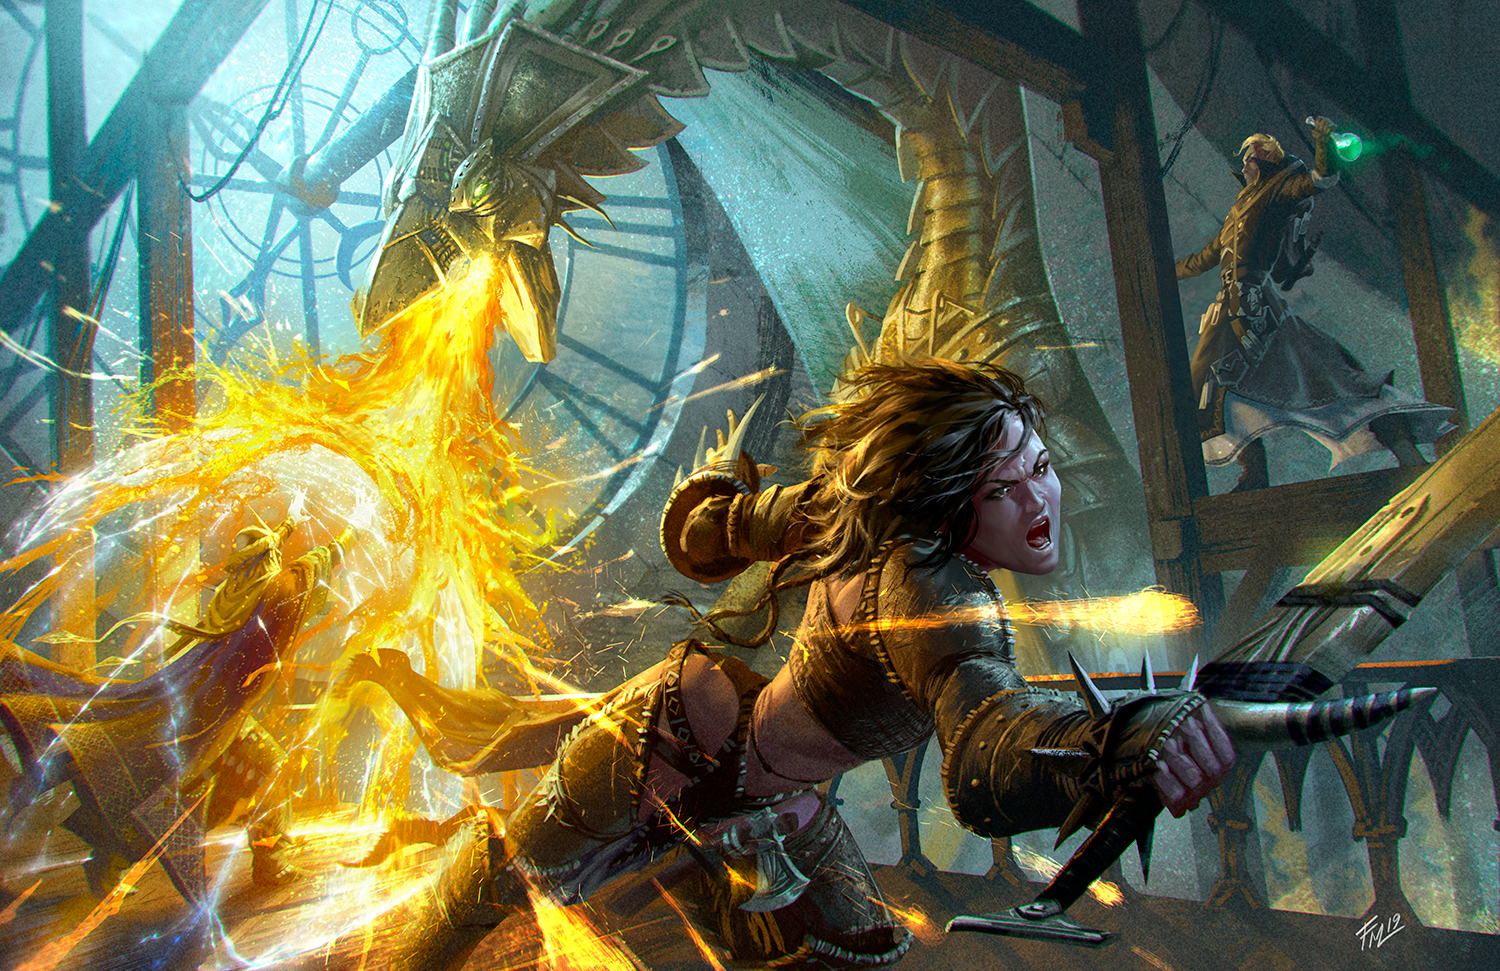
I don’t know how K-12 education is structured these days, but back in 10th grade, I had a class called “World Cultures” that took a 2-3 week survey-level look at many of the main areas other than the United States. How many people live here? What are their religions and languages? What are some of the biggest cities? This book is a lot like that, but for the Inner Sea region. Aside from getting from Point A to Point B and knowing where to buy more rations, it lets you know things like whether elves are commonplace or if you’re going to be regarded as weirdo in the town you’re about to enter. It might also stop you from… ohhh I don’t know… creating an entire party of characters who don’t speak the dominant language of the area you’re visiting. Hypothetically. LIKE THAT WOULD EVER HAPP… (sigh).

Perhaps most importantly, it’s a sourcebook for the ambitious and creative GM, to help them design homebrew content for their gaming tables that would still fit within the Inner Sea setting. Much like the Pact Worlds book from Starfinder, the Lost Omens World Guide is teeming with “jumping-off points” – people, locations, important landmarks, and so on – that an aspiring GM can use as the foundation for telling his or her own stories. If you want to do an undead or horror-themed adventure, the Eye of Dread region is basically the backyard of the Whispering Tyrant, a lich-king who’s caused all manner of trouble over the years. The Impossible Lands are where a battle between two wizards has warped the very land itself, so if you’ve got a mind for weird, trippy, high-magic shenanigans… there you go. There’s an entire chapter dedicated to things afoot on (and under) the high seas.

There is, however, a bit of an elephant in the room. Doesn’t the first edition Inner Sea World Guide already cover a lot of the same ground? And the answer to that is “yes, but…”.

Look. The broad strokes of Golarion remain the same. The city of Absalom still serves as a one-stop hub for adventuring. Most of the “themed” regions still exist; if you want a campaign with a desert flavor or a jungle flavor or an arctic theme, all of those are right where you left them. There are going to be long-time First Edition players who already know most of this, and that’s cool.

So what’s truly new here? That’s the question, isn’t it?
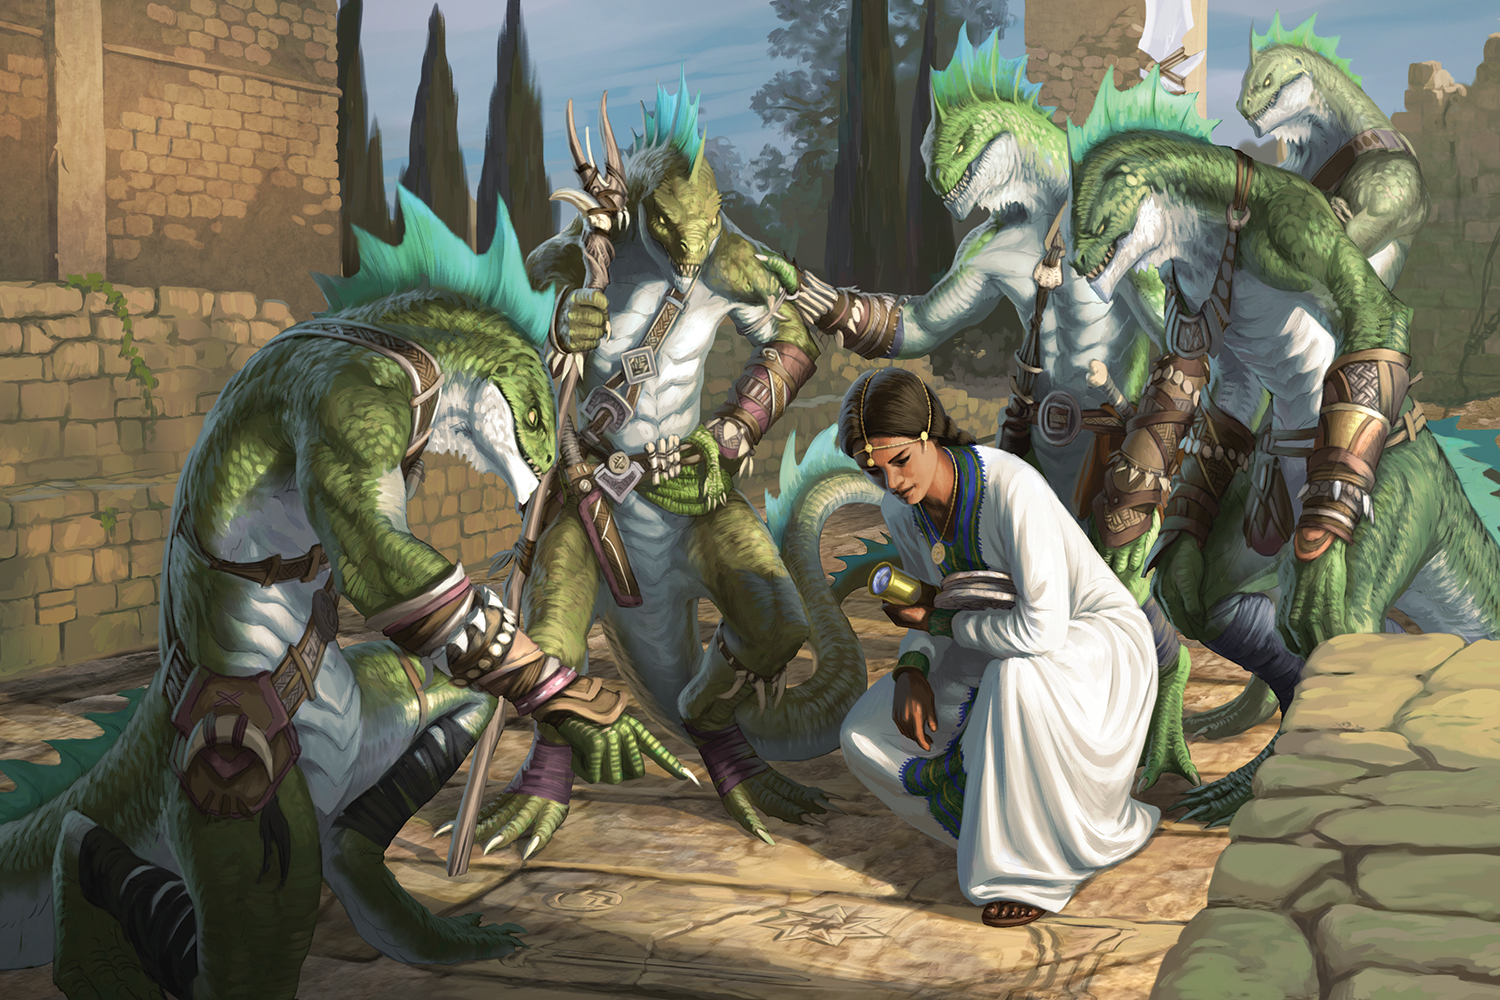
First, as a reference manual, it’s organized a little more intuitively than its predecessor. The Inner Sea World Guide was broken down by topic, using straight alphabetical order within each topic. Straightforward in a way, but not necessarily easy to use – two locations that were just down the road from each other on the map could be on opposite sides of the book, and different pieces of information about a place might be scattered across the book. Much like the Starfinder Pact Worlds book, the Lost Omens World Guide takes more of a geographical focus, organizing itself into 10 meta-regions, and tackling each region separately. It’s the difference between having to flip 200 pages to get from Montreal to Toronto rather than them both being in the chapter about Canada. To me, the latter feels more rooted in common sense. Furthermore, the book presents a nice simple one-sheet “flashcard” for each region that includes all the important details an easy-to-digest format. Very handy – something that can very easily be printed off and given to the players at the table.

The next thing is that on a lore level, the Pathfinder world has undergone changes. The fates of different nations have risen and fallen, and some of the formerly dominant powers are less so, with new players taking their places. But here’s the cool thing. It’s not simply “Oceania and Eastasia are enemies now… 30 dollars, please”. The changes that happen as a result of the time-skip are often directly or indirectly tied to the last 10 years of official First Edition adventures – adventure paths, individual adventures, even Society play. Our online game proceeds at somewhat of a slower pace, so we haven’t done all of the adventure paths, but at first glance, I recognized hooks to both the Iron Gods and Carrion Crown adventure paths in the “timeline” running along the sides of the pages. The takeaway is that this isn’t just change-for-change’s-sake; there’s a decent amount of thought put into HOW the world would have changed if one assumed the outcomes of the various adventures as fact. While I admit my knowledge of prior adventure paths isn’t deep enough to totally appreciate it, I think it’s pretty neat, conceptually.
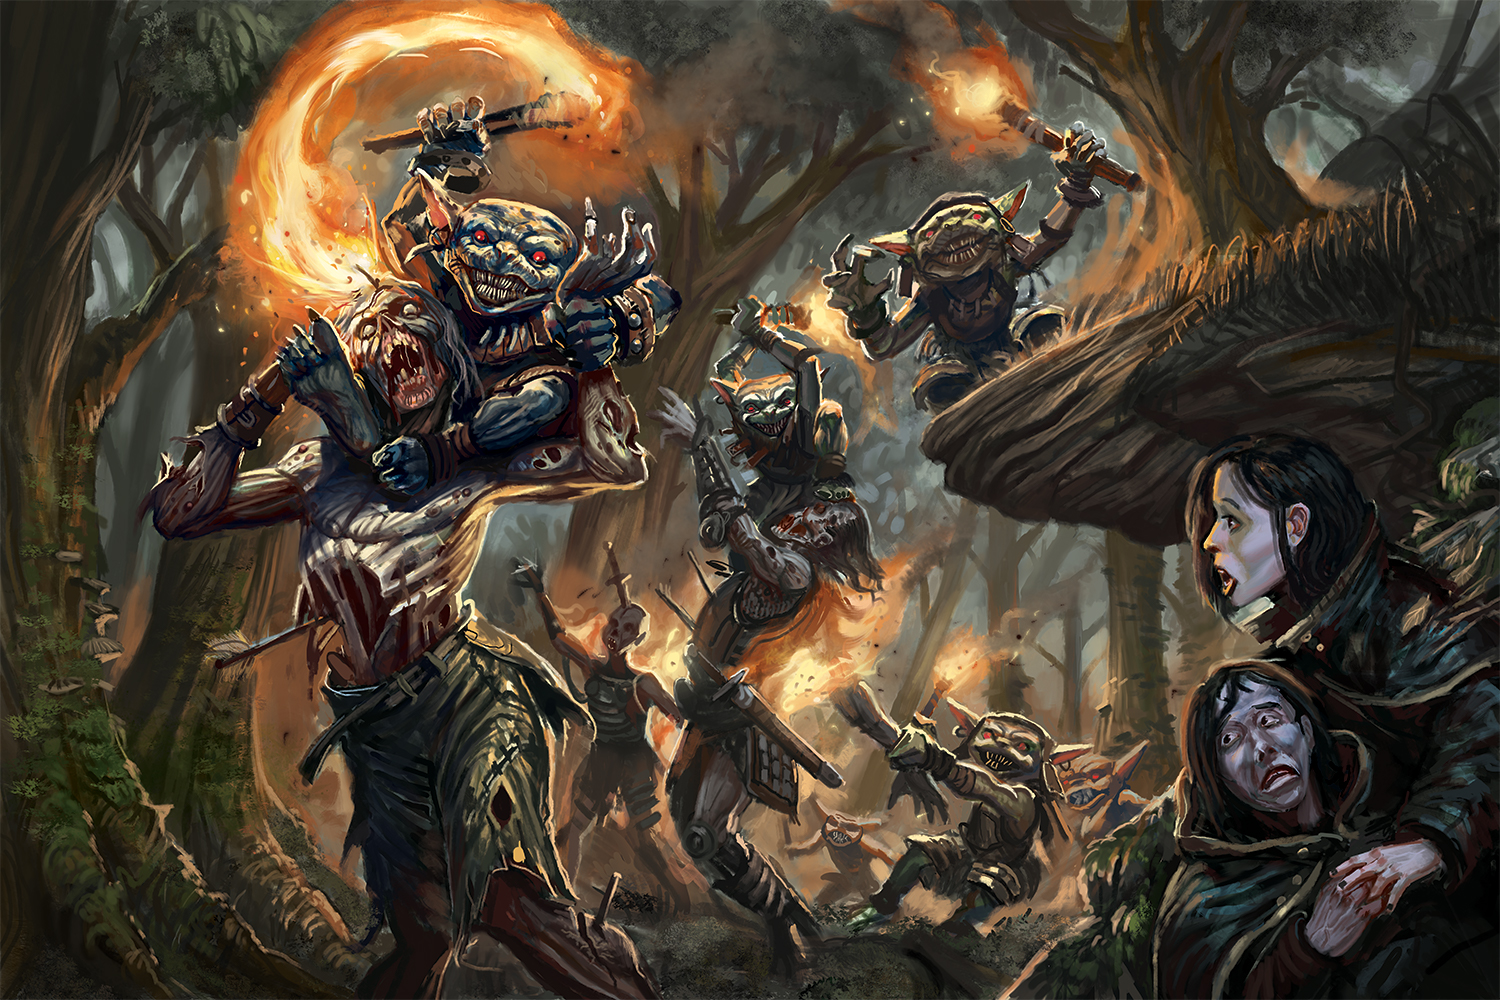
Lastly – and here’s where players’ ears will perk up – there are region-specific backgrounds, archetype feats, and sometimes even little extras (items, non-archetype feats, etc.) interspersed within the lore dump. That’s right kids, it’s not ALL fun for the GM; we players get in on the action too.

On one level, the backgrounds are nothing game-changing, it’s still just a couple ability scores and a couple of skill bumps. What they do represent is a means of integrating your character more tightly with the setting and world lore. Just to pick an example, instead of just being a “sailor”, the High Seas section gives you the option to be a storm survivor, an aspiring captain, a member of a press-gang, an undersea enthusiast, or other options… each with their own flavor, and yes… their own stat bumps.

The archetype feats tend to be related to key organizations (formal and informal) within the Inner Sea realms. The most likely (from a player perspective) would be the Pathfinder Agent – if you join the Pathfinder Society (and are from Absalom), you’d gain access to additional feats you can take as you level. On the “formal organization” side, there are several old standbys like the Hellknights and Red Mantis Assassins. For an example of a more informal grouping, there are the Runescarred, residents of the Saga Lands whose exposure to magic over time has left… well… scars. In general terms, there’s one archetype for each region – access to these archetypes generally has a skill requirement and you have to be from the region to take it. The skill needs vary from fairly straightforward (“ability to cast focus spells” for the Magic Warrior of Mwangi Expanse) to fairly specific (the Red Mantis Assassin requires the right alignment, the right weapon proficiency, the right deity, AND membership in the Red Mantis Assassins). So some of these, you may be able to train into fairly easily; others will require a pretty specific build (or a pretty lenient GM) to even get in the vicinity.
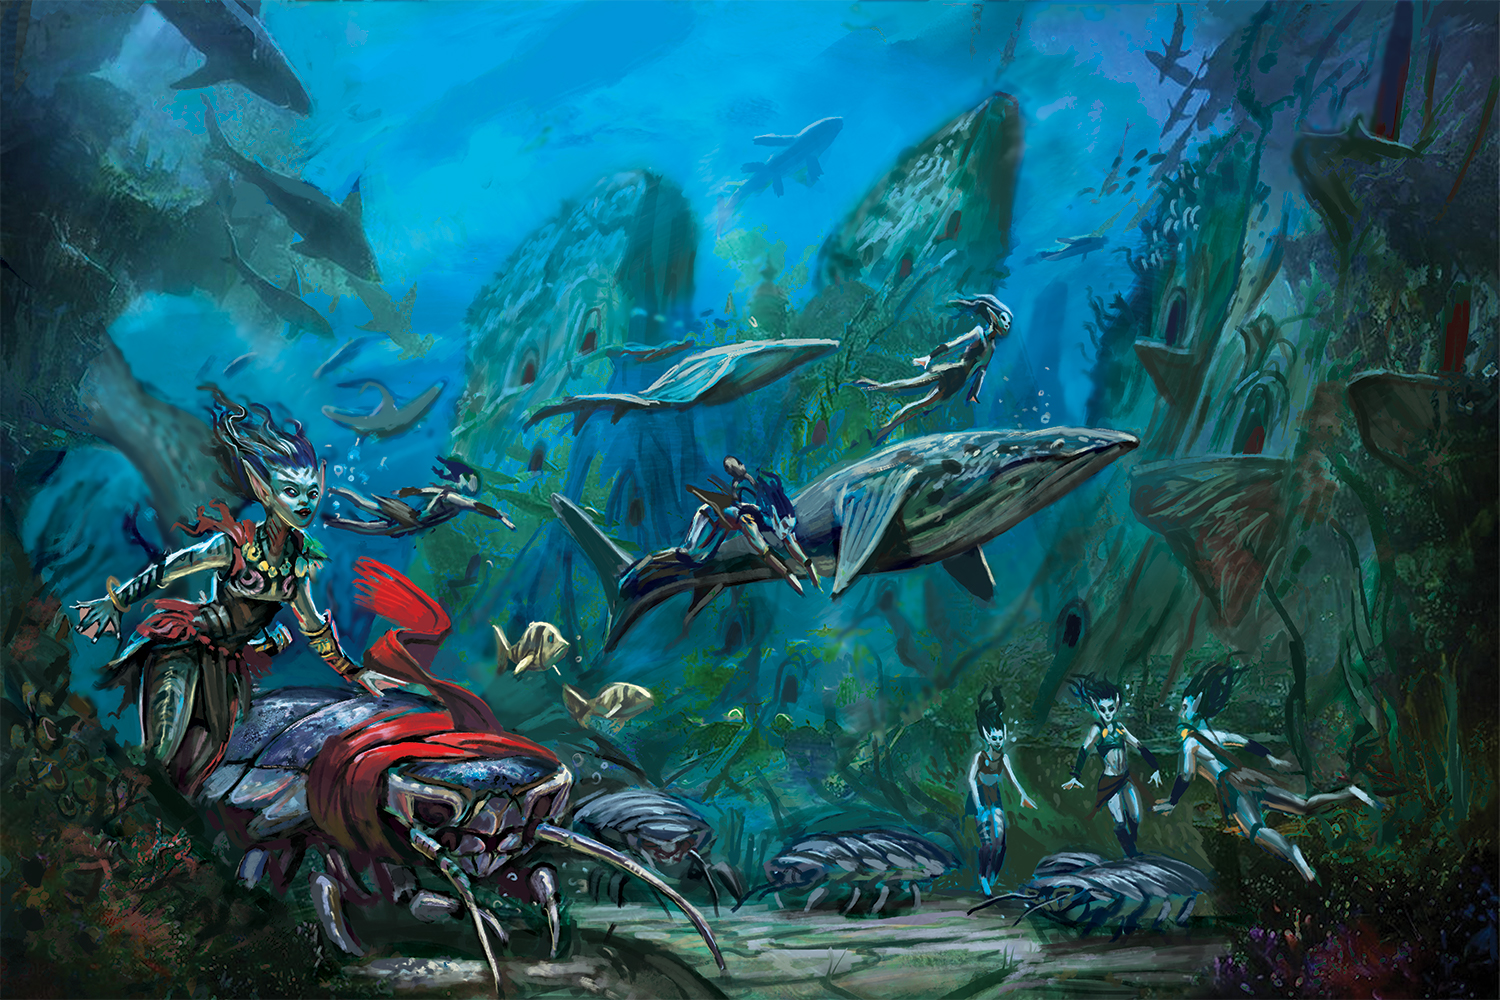
As far as the “toys”… it’s a little more hit-and-miss here, both in terms of the number of extras and the presentation thereof, but there is some fun stuff here. It’s a little wonky, presentation-wise: sometimes they’re in the flow of the main text, sometimes they’re tucked off in a corner or on the sidebar, so it can be a little difficult going back to find them later. Some sections have three or four; other sections won’t have any. But you do have some fun choices. There’s the Aldori Dueling Sword: the sword itself is nothing special, but training in it and being from that part of the world lets you potentially take the Aldori Duelist archetype and get access to some interesting feats. The High Seas area offers the Jellyfish Lamp, a lamp made of bioluminescent jellyfish, but it loses its potency if it’s removed from water for an extended period of time. I think my personal favorite is the Eye of the Arclords feat – it basically creates a temporary third eye in your forehead that gives darkvision, detect magic, and a bonus to Perception checks. WHO DOESN’T LOVE EXTRA EYES?

So, is this something your gaming group is going to need? At a 30-thousand foot level, it’s a book that’s heavy on lore and light on nuts-and-bolts rules content, and some portion of that lore – fresh coat of paint notwithstanding – is stuff that’s been out there for a while. But it does have new wrinkles to offer in terms of world lore and gameplay that, pass-fail, make it worth a look. I certainly think anyone who’s brand new to Pathfinder with Second Edition probably ought to pick this one up, and GMs who want to do a lot of homebrewing that would still fit in with published material would find this book useful as well. If someone’s a First Edition lifer who already has this committed to memory or if you’re a GM who’s more about the ruleset and don’t really use the Golarion setting as much… maybe it’s OK to wait a bit and see how your Second Edition experience goes before taking the plunge. Having said all of that, it’s a worthy successor to the Inner Sea World Guide and a solid platform to launch a new era of Second Edition gaming.

Talking Combat 098: The Ghost With The Most

Jason recaps the events from Roll For Combat, Episode 098: Shock It To Me.

First, it’s totally true. My dog ate my homework… errr… microphone. I have a dog with a taste for personal electronics. Over the years, I’ve lost a few charging cables, more than one pair of headphones, and… yep… most recently, the mic I use to record the podcast. I’m going to go ahead and throw my son under the bus here – I know to put my stuff up in a safe place; he’s the one who borrowed my headset and left it in the Canine Death Zone, not me. But it is what it is, and for the next few episodes, I sound like I’m broadcasting from inside a trash dumpster. Apologies for that.

I had actually forgotten about the brief interlude where we met the evil AI and I got zapped – my memory of this was that we went right from the good AI into the final fight. Having said that, I suppose this encounter still served a larger purpose. Up to this point, I was a little skeptical of the good AI, and not totally convinced this isn’t some sort of elaborate double-cross – that the superficially friendly AI isn’t trying to get us to hack into a system it can’t get into itself so it’s come up with a story to get us to do the dirty work for it. But this gave us a chance to log onto a terminal and verify that the bad AI is doing nefarious things with the security system and lying about it – that certainly clarifies things. OK, I take a bit of damage in the process, but it only hit stamina and I have like 300 resolve points at this point, so no big deal.

So with that resolved, we move on to what turns out is the final encounter. Didn’t know that at the time, not sure what we would’ve done if we had. It’s easy with 20/20 hindsight to say we should’ve cleared out the rest of the complex and leveled, but sometimes you gotta go with what feels right in the moment. I think our thinking was we could always go back and clear the remaining rooms after we moved the plot forward. Also, as a roleplay thing, we’re on a bit of a clock here.

So just to describe the room a little better, you enter on a south-bound corridor that’s only 10’ wide. At the bottom of the corridor, there’s a small flight of stairs and then the contour of the room kind of fish-hooks back on itself, opening into the majority of the room in the process. So there was kind of a pivot point at the bottom of the stairs. The wall gave both groups some protection, we couldn’t advance too far into the room without opening ourselves up to FAR more attacks in return, but they also couldn’t push too far into the corridor we were in. (Unless the shades went incorporeal and went through the walls. I suppose that’s always a possibility. Let’s all agree not to tell them they can do that, okay?)

Ironically, I was feeling pretty confident when this fight started. There were two or three regular Cultists, but those weren’t much to worry about. They don’t hit hard, they don’t do a lot of damage, so other than clogging up movement and potentially getting attacks of opportunity… they’re basically speed bumps to keep us from getting into the room too fast. The shades… slightly more problematic, but my gun and Mo’s pike work just fine against them, and Akiro has SOME spells that can damage them, though a finite amount. We did OK against them on the ship, so… non-trivial, but also not insurmountable.

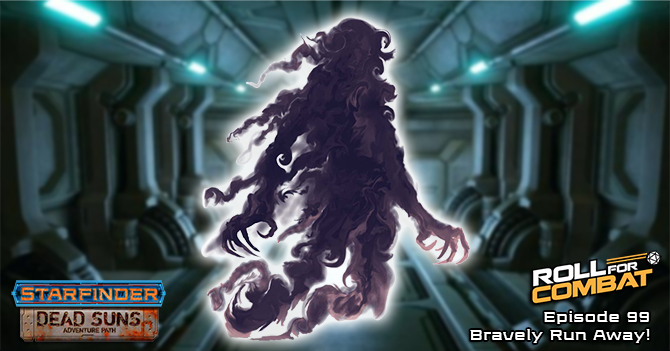
But then there’s the boss. It quickly becomes evident that he’s got all the benefits of the regular shades, and ohbytheway, he’s got real spells (Mystic, maybe?) in his arsenal. Have I mentioned lately I hate incorporeal creatures? Just checking?

So the emerging strategy is that Mo (and to a lesser extent, CHDRR) will hold the pivot at the bottom of the stairs, Akiro and Tuttle will try to find firing angles to thin the shades since we can damage incorporeal creatures, and Rusty will lob grenades, which will at least clear out the Cultists, and if it can damage the others, that’s just gravy.

But you know what they say… no plan survives contact with the enemy. First, the shades do remember that they can move through things (and fly over them) so they can pretty much move past Mo and CHDRR at will and get at our back lines. So far, only one of them has, but it suggests our initial plan may not be tenable in its current form. More importantly, the Big Bad rolls out a spell which makes Mo exhausted. A bunch of negatives to, well, just about everything. And embedded in there is bad news – I’m not sure he has any magic on his gun, so if he switches from melee to ranged weapons (his pike has a weapon fusion), he loses some of his damage against incorporeals. (I could be wrong about this, he might have put a fusion on his gun as well… I can’t remember so I’m going to find out along with you next week.) So… things just got a lot more interesting right there at the end, didn’t they?

Well, without giving away too many spoilers, it’s gonna get even more interesting (cough-worse-cough) next week. How exactly? Sorry… I guess you’ll just have to come back next week and find out. In the meantime, feel free to drop by our Discord channel or other social media and let us know what you think of the show. Thanks for listening, and we’ll see you back here next week.

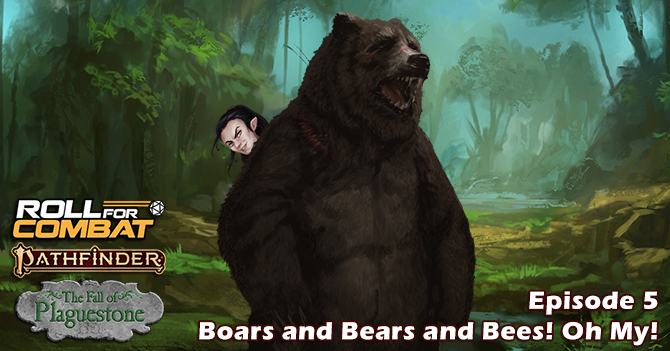
Plaguestone 05: Boars and Bears and Bees! Oh My!

It seems like every single animal in Plaguestone is trying to kill the RFC Crew. Well, every animal that begins with the letter “B” that is.

And don’t forget to join our Discord channel, where you can play games, talk with the cast, and hang out with other fans of the show!

Become a supporter of the podcast our Patreon page: https://www.patreon.com/rollforcombat where you can help us while unlocking fun exclusive rewards for yourself!

If you enjoyed this episode, don’t forget to subscribe to the podcast. We would also love it if you would leave us a review on iTunes!

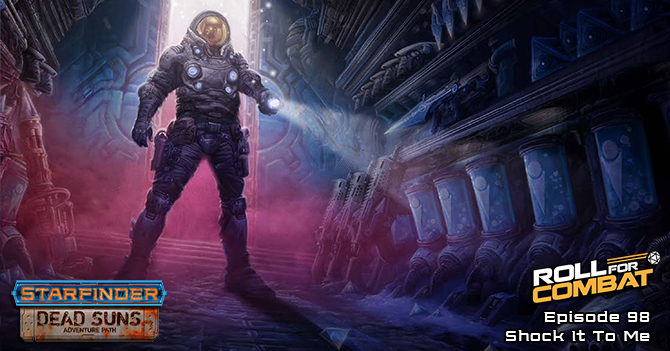
Dead Suns 098: Shock It To Me

This week the RFC Crew decide to skip the rest of the dungeon and face the big bad boss … even though they are grossly under-leveled. Should be a fun week!

Also this week, GM Stephen discusses upcoming interviews and new podcasts.

And don’t forget to become a supporter of the podcast our Patreon page: https://www.patreon.com/rollforcombat where you can help us while unlocking fun exclusive rewards for yourself!

If you enjoyed this episode, don’t forget to subscribe to the podcast. We would also love it if you would leave us a review on iTunes!

Talking Plaguestone 04: Float Like A Bloodseeker, Sting Like A Bee

Jason recaps the events from Roll For Combat: The Fall of Plaguestone, Episode 04: Ghost Bee Gone.

It’s a fun week on Roll For Combat as it’s a mostly combat-oriented episode with a pair of encounters. Granted, the whole adventure did kick off with the fight against the wolfpack, but that one was over pretty quickly and was mostly straight melee, except for Celes casting a few spells. This time, between the stirges and the bees, we got to explore a few more situations and got a little deeper into our powers.

Brixley, in particular, got to test out a couple of his champion abilities. The first class feature to get the spotlight is Liberating Step. The short version is basically what I described on the show – if someone within 15 feet gets grappled, I can use a reaction to give them a free chance to break free. It’s actually got a few additional wrinkles that I didn’t cover. It can also confer damage resistance (2 + my level) and/or can let the target take a Step. So, it’s actually a pretty neat and versatile little ability, even if it’s a LITTLE bit situation-dependent.

(As a side note, the Paladin equivalent lets the champion take a free swing in return when an ally takes a hit, and the Redeemer can either nullify damage entirely or confer an enfeeble effect on the enemy.)

The other class ability to make it into play is good ol’ Lay On Hands, the staple of the first-edition class. First, yes, all flavors of Champion get Lay On Hands; it’s not just for Paladins anymore. It’s the same basic concept as in first edition, but with a few new mechanical wrinkles. Within the action economy, it’s just a single action – nice and simple. Next, the damage healed is just a flat 6 points per level – no randomness. (However, if you use it as a damage spell against undead, you still roll for damage.) The bigger change is that the number of uses changes – it used to be a flat number of uses per day (half your level + CHA modifier); now it’s based on the mechanism of focus points, which can be regenerated with a 10-minute rest. Cliff’s Notes version: the first-edition paladin can use it more in a single encounter (especially at higher levels) since you can have no more than three Focus Points, but the second-edition champion can replenish them instead of having a finite pool. After-heals galore!

So the stirge fight went fairly quickly, leaving only a little residual guilt on my part that Brixley was the only person who didn’t take any damage. (Sorry, everyone!) We roll the Grumpy Old Man back to town, collect some experience, have a little lunch, and it’s time to get back to the murder investigation at the heart of the story. Our next lead to follow up on is the cook, Amora, who has been absent since Bort’s murder, so it’s off to her house.

And greeeat. Not only do we have a battle against a swarm – one of my least favorite things to fight (it’s either that or incorporeal creatures) – but Brixley continues his gradual descent into slapstick comic relief by stumbling into the bee swarm unawares. Falling in mud, getting punched in a bar brawl, stumbling into a bunch of bees… Brixley is gradually becoming a Warner Bros cartoon character. Which may represent a good career change for him, because he’s totally useless in this particular fight. (I mean, I guess I “did some damage” by letting them sting me? Does that count?)

Fortunately, Prue and Celes manage to be FAR more useful. Statistically speaking, Celes’ fire fingers probably ended up doing the most damage but you have to admit that Prue killing bees with ghosts wins the battle for style points. WITH GHOSTS, people. We also get to see Hero Points in action. I’m going to be honest: I’m not sure how I feel about random do-overs as a game mechanic (seems kinda cheap), but if they’re part of the system, I’ll find a way to get comfortable with them sooner rather than later.

Finally, as we kill off the bees, Amora comes out of her shack with the tools that would’ve been far more useful for the job. Amora invites us in, which leads to both a snack that Winnie the Pooh would envy and a lead on the mystery – it turns out Bort’s bowl has a floral poison-y scent that Amora doesn’t recognize. Presuming we believe her, that means we’re narrowing things down to one of the kitchen staff – either Finnick/Pinnick the goblin who plated it, and Trin who actually served it to the table. Full disclaimer… first edition habits die hard, so I’m blaming the goblin until further notice. As a side mission, we (but mostly Celes) convince Amora to return to work, thus saving turnip-based cuisine for the people of Plaguestone. Yay?

The one thing I probably should have asked a lot earlier is if the woman who has all sorts of beekeeping equipment had any sort of remedy for bee-sting poisoning. You’d think someone who keeps bees would cover all her bases. Does the world of Golarion even have the equivalent of an EpiPen? But unfortunately I don’t think of it until the poison has already cleared my system, so oh well… opportunity missed.

And that’s where we break for the session. We have two new suspects to investigate, a dead body to scrutinize more closely, and Celes has an inside track on special turnip-and-honey concoctions that the general public can only dream of. Brixley? I’d just settle for not enduring some low-grade cartoonish humiliation, thanks. Hope you’ll join us next week to see where the mystery leads; in the meantime, feel free to drop by our Discord channel or other social media and let us know what you think of the show. Thanks for listening and we’ll see you next week.

SP17: Pathfinder & Starfinder Society Interview with Tonya Woldridge

If you enjoyed this interview make sure to check out our brand new Pathfinder Adventure: The Fall of Plaguestone Actual Play Podcast! as well as our Dead Suns Actual Play Podcast.

Welcome to another special edition of the Roll For Combat Podcast where we sit down with Paizo Organized Play Manager Tonya Woldridge.

With the recent launch of Pathfinder 2nd edition and Starfinder, Society play has gone through a mountain of changes over the past few years, and as Organized Play Manager, Tonya Woldridge has been right in the thick of these changes! Topics covered include how Society has changed with the launch of Pathfinder 2nd edition, what they learned from Starfinder Society, why did all of the Pathfinder factions change, and lots more. Check it out!

And don’t forget to become a supporter of the podcast our Patreon page: https://www.patreon.com/rollforcombat where you can help us while unlocking fun exclusive rewards for yourself!

If you enjoyed this episode, don’t forget to subscribe to the podcast. We would also love it if you would leave us a review on iTunes!

Talking Combat 097: Whine & Crackers

Jason recaps the events from Roll For Combat, Episode 097: Cheese & Crackers.

There are times when I sometimes feel a little bit guilty about being The Quiet One on Roll For Combat. Then there are episodes like this one where I feel like Derek Smalls from Spinal Tap… they’re like fire and ice, and I’m lukewarm water.

So let me see if I’ve got this right. Chris wanted to kick doors, but was so impatient that he was generally being antagonistic and basically ignoring the lore dump. John wanted to kick doors, but didn’t want to be the one do the kicking because he didn’t want the umpteenth trap going off in his face, and was probably getting pissed at Chris calling him a coward. And Bob wanted to make sure we got everything we needed from the lore dump and was getting pissed that John and Chris weren’t listening to varying degrees, especially when he is our long-suffering note-taker. (Also, since there were 10 minutes left and Bob likes hard stops, I also suspect Bob wanted to end at the lore dump and pick it up the following week.)

Me? I was just playing with my new space-dog, man.

This is one of those times when I’m reminded that I’m a LITTLE bit of the outsider in the group. I don’t mean this as a mopey emo thing… just acknowledging that I came a little later to the party. As a reminder of the history, I met Steve in college; he moved to NYC and met the other guys and started gaming with them, and then I joined their group and we all started gaming together online more recently (7 or 8 years, maybe?). So “the New Yorkers” (to oversimplify) have a shared history and rapport with each other that I don’t quite share. One way that manifests is that I have a little bit of Rust Belt discomfort telling any of them they’re being a dick. Especially with a hot mic in the room.

Which is not to say I haven’t had my chippy moments as well. In a game before we started the podcast, we had a situation where somebody was getting really bossy and basically telling me what I should do… EVERY… SINGLE… ROUND. Not suggesting. Not asking. Pretty much just giving orders. I believe that ended with me suggesting XYZ could just run my character for me, dropping an f-bomb or two, and leaving the session 10 minutes early. So I don’t want to hold myself as some enlightened Paragon of Proper Gaming Etiquette who’s above such outbursts… just saying these guys have a particular dynamic where sometimes there are another 15-20 years of subtext that’s above my pay grade. In moments like that, I just poke aimlessly at my phone until it blows over.

(It’s also small beer compared to how angry the board game RISK makes me, but that’s a story for another time.)

And like Steve said, these incidents are almost always forgotten by the next session anyway. Maybe there’s a little Airing of the Grievances over group chat and things are back to normal. Welcome to life in a long-running gaming group.

Getting away from the gossip and returning to the game, I’d like to footnote my references on my choice of pet names. “Crackers”? Total tip of the cap to Wallace & Gromit – I was thinking “cheese” and “sci-fi”, and the episode where they went to the moon because they ran out of cheese just popped into my brain. Particularly the scene where they’re literally about to launch into space and Wallace’s biggest concern is… wait for it… “We’ve forgotten the crackers!”. And there it was. It’s like an onion – it’s got layers!

So, the actual “action” this week was mostly just a short lore dump. In case it was unclear with all the background noise of our squabbling, there’s a good AI and a bad AI fighting it out in the complex we’re in. The bad AI currently has the upper hand – it locked the good AI away and is trying to help the cultists. The good AI is walled off by the same security protocols that used to protect it but is trying to at least slow the cultists down from acquiring the weapon and will help us if it can. It’s unclear how this will manifest – traps seem likely, possibly Tuttle having to deal with some electronic counter-measures, possibly even security robots to fight? – but our immediate next step is to get to the computer core to undo things and put the good AI back in charge.

Confession: 2% of me doesn’t trust this machine. How do we know this isn’t the malevolent entity and we’d be doing its dirty work by releasing it. For the moment, the computer core seems like a good place to go anyway, but once we get there, I might want to see if there’s any way to verify its story before releasing it.

As Steve mentions, this is one of those times we have to balance meta-gaming against good roleplay. Meta-gaming, it probably would be good to clear the complex room by room. Get a little more experience, find some loot, possibly even level up. But on a roleplay level, if you know a malevolent entity has control of the computers and the bad guys still have an indeterminate lead on you, going directly to the core (do not pass GO, do not collect 200 credits) seems like the “proper” response. Why would you pack in a bunch of extra fights you theoretically don’t need to face? I suppose “clear everything behind you so they can’t ambush you later” could pass muster as legit reasoning, but when push comes to shove, I guess I’d rather get to the core and see what we’re up against there first.

But that’ll be a task for next week. Come back next week as the kinder, gentler Roll For Combat crew (promise) try to get the right AI back in charge. In the meantime, feel free to drop by Discord and other social media and let us know what you think of the show. Thanks for listening and we’ll see you next week!

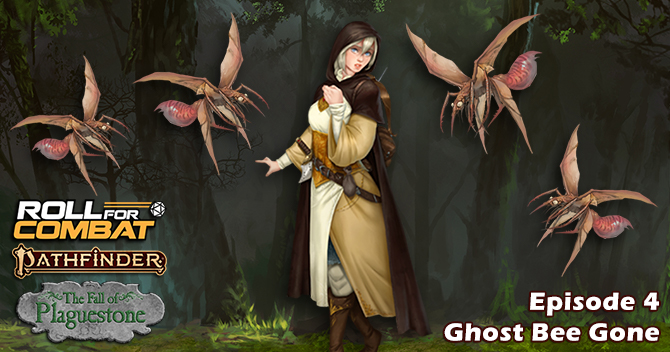
Plaguestone 04: Ghost Bee Gone

What started as a nice tour of Etran’s Folly has turned deadly as Celes is swarmed by a flock of bloodseekers (aka stirges). Good thing Prue is there to punch them to death … with ghosts!

And don’t forget to join our Discord channel, where you can play games, talk with the cast, and hang out with other fans of the show!

Become a supporter of the podcast our Patreon page: https://www.patreon.com/rollforcombat where you can help us while unlocking fun exclusive rewards for yourself!

If you enjoyed this episode, don’t forget to subscribe to the podcast. We would also love it if you would leave us a review on iTunes!